How To Register A Domain With Google Domains
Purchasing A Domain Through Google
For this tutorial, we’ll use Google Domains to register our domain. Feel free to use any domain provider you’re comfortable with, but if you do so, be aware that configuring that domain may differ from the steps used in this course.
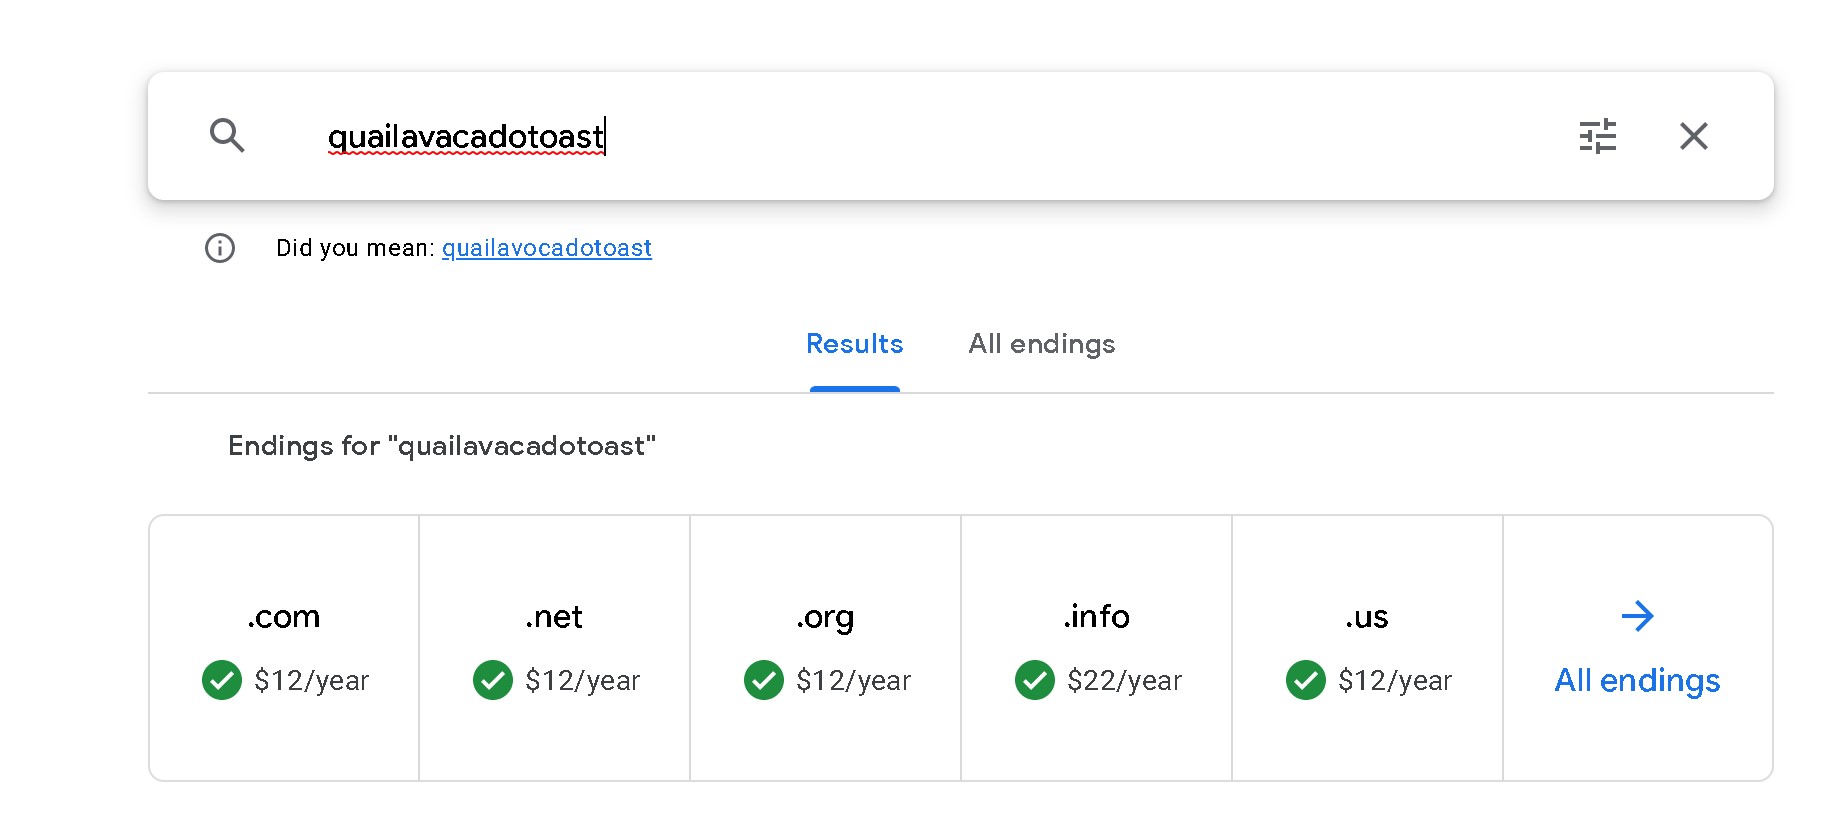
To begin, visit Google Domains in your browser. In the search bar, input the domain name you want to register.
We recommend selecting an ambiguous domain name. By that, we mean to choose a domain name that doesn’t explicitly explain that it’s a bitwarden password server. In this example, we’ve chosen ‘quailavacadotoast’ but you can choose anything. Just make sure you can remember it. Please don’t make it so complex that it’s hard to type into a search bar.
To be clear, we don’t recommend a domain name like “justinspersonalbitwardenserver.com”. Use some common sense.
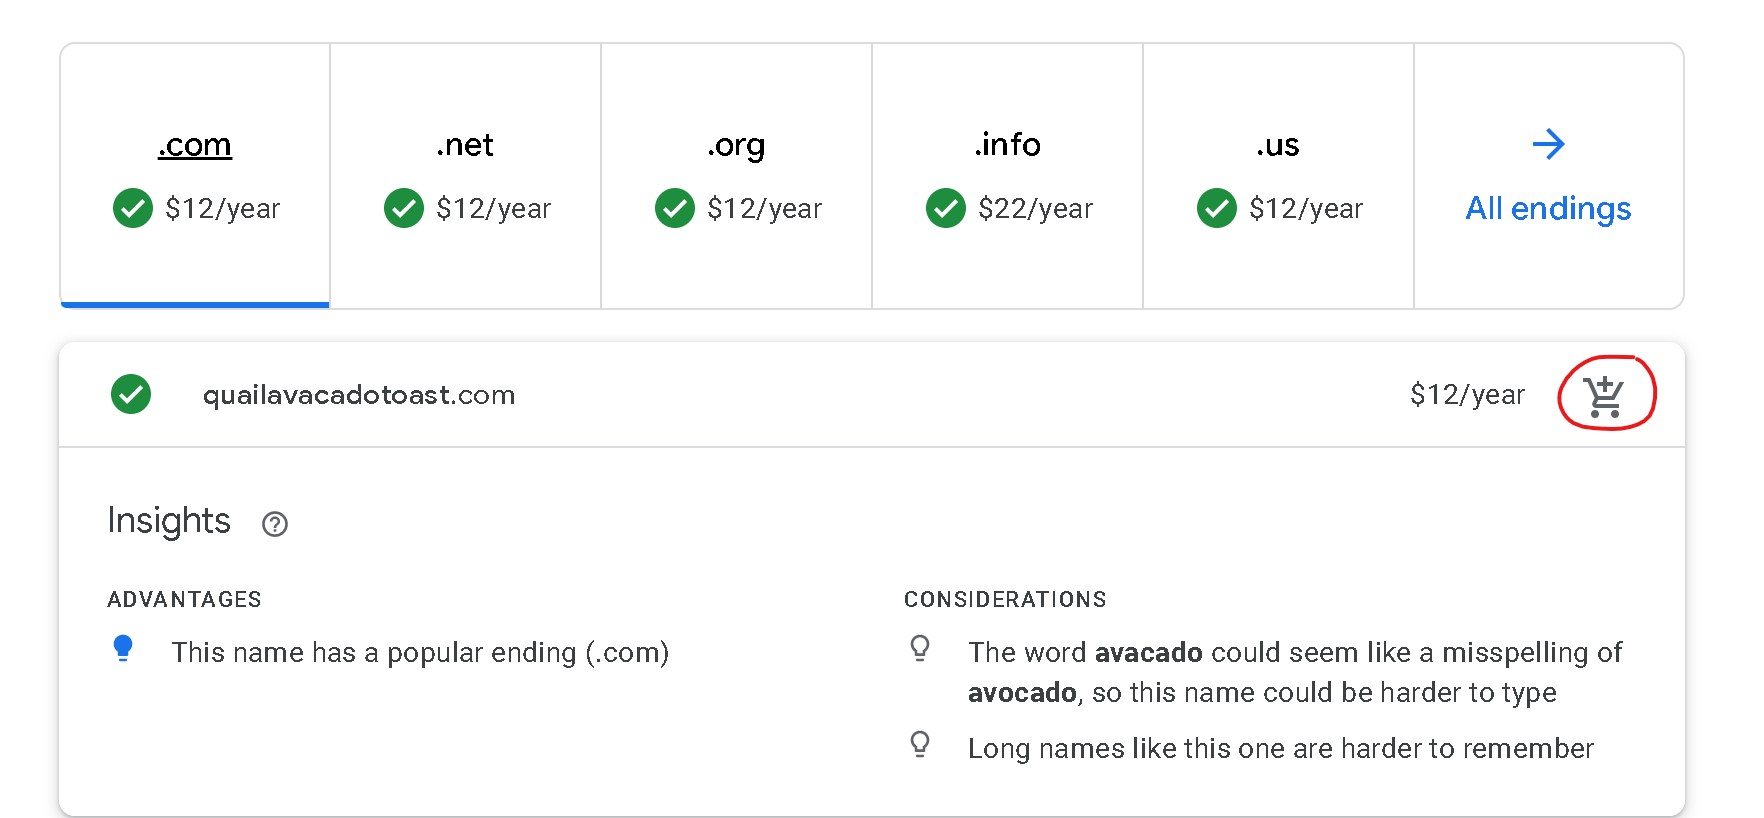
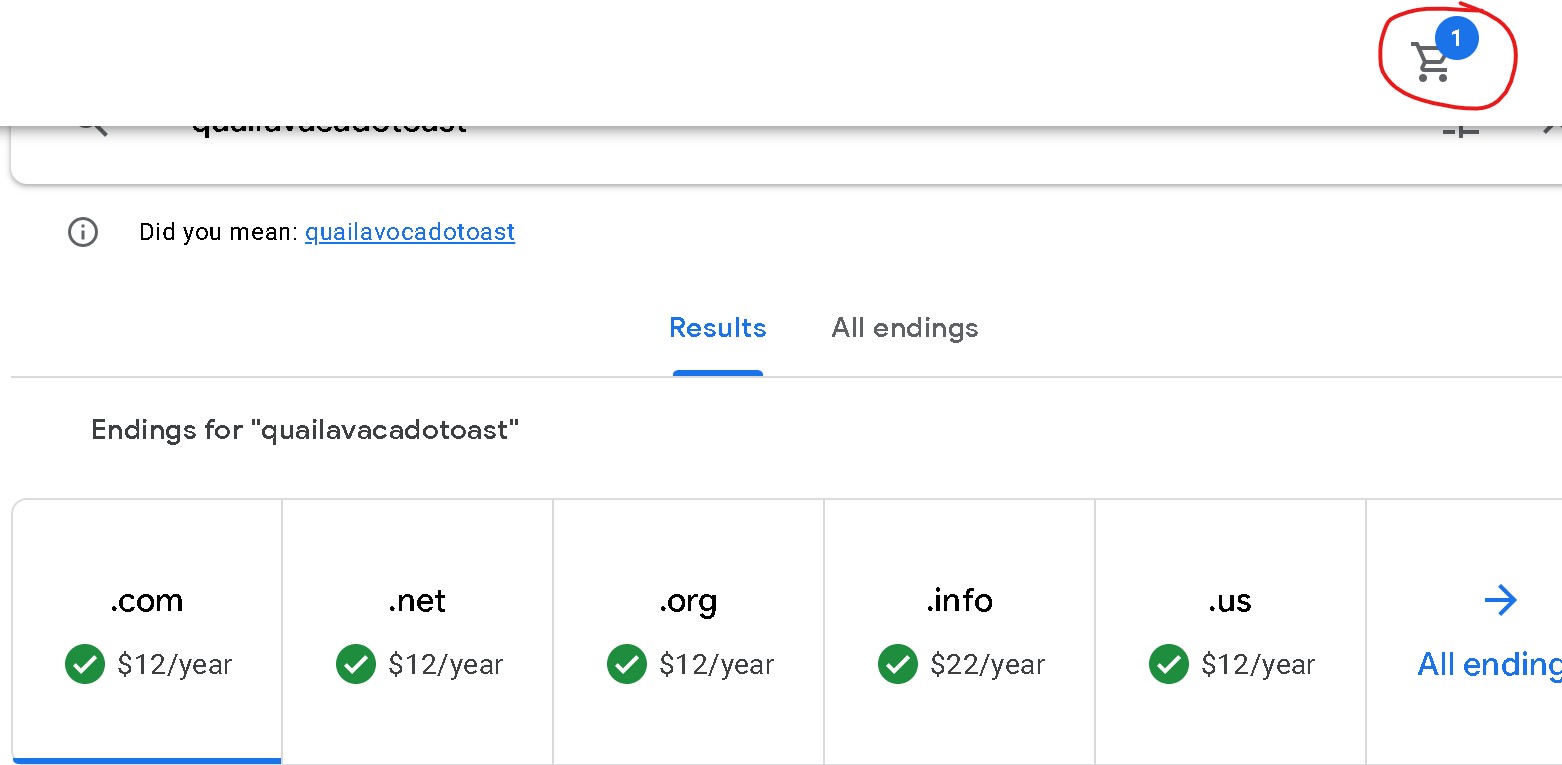
You’ll have a lot of options. If the .com for your domain is already taken, try going with a different domain ender or selecting a different domain name. Also, we recommend choosing the cheapest domain possible. No reason to break the bank, but this is your choice. Once you’ve got your desired domain, click on it.
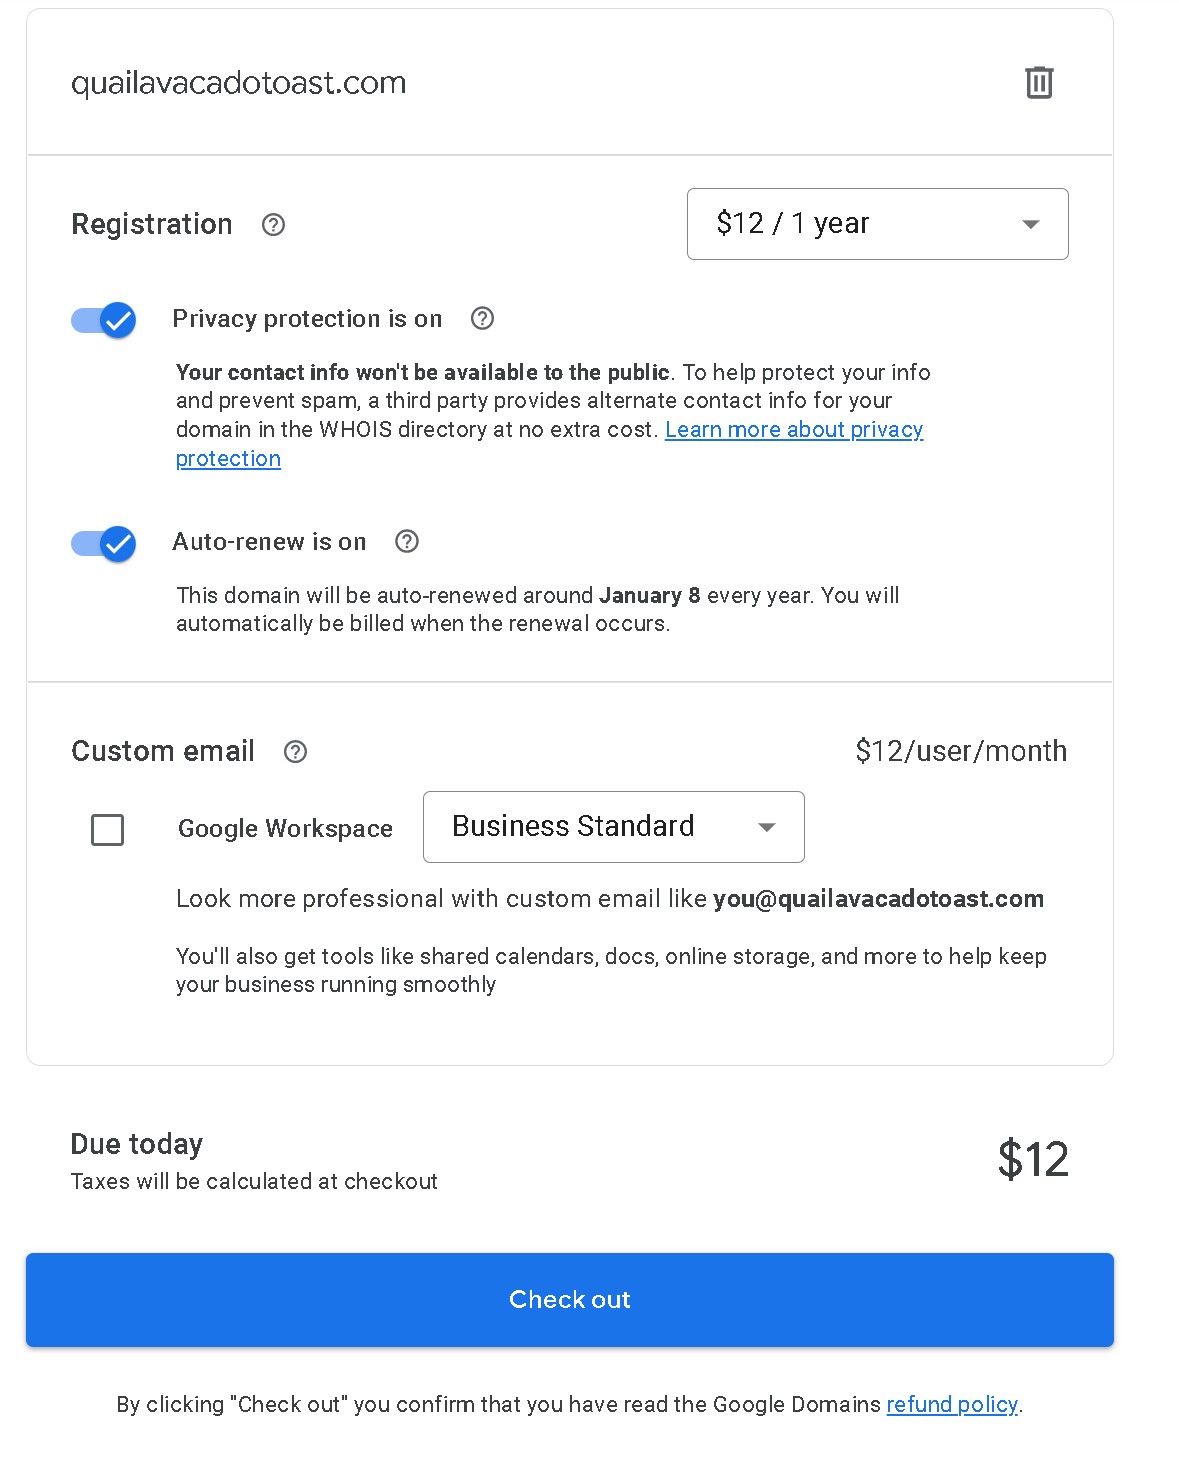
There's nothing wrong with the default settings here.
This states that you're purchasing this domain from Google for one year. Your domain registration will automatically renew yearly, and with Privacy Protection, your identity will not be publicly linked to this domain.
You won't need Google Workspace or any other bells and whistles, so make sure you're logged into your Google Account and click 'Check out.'
The payment screen will follow, where you'll be directed to select your Payment Method.
Setting Up A DNS 'A' Record
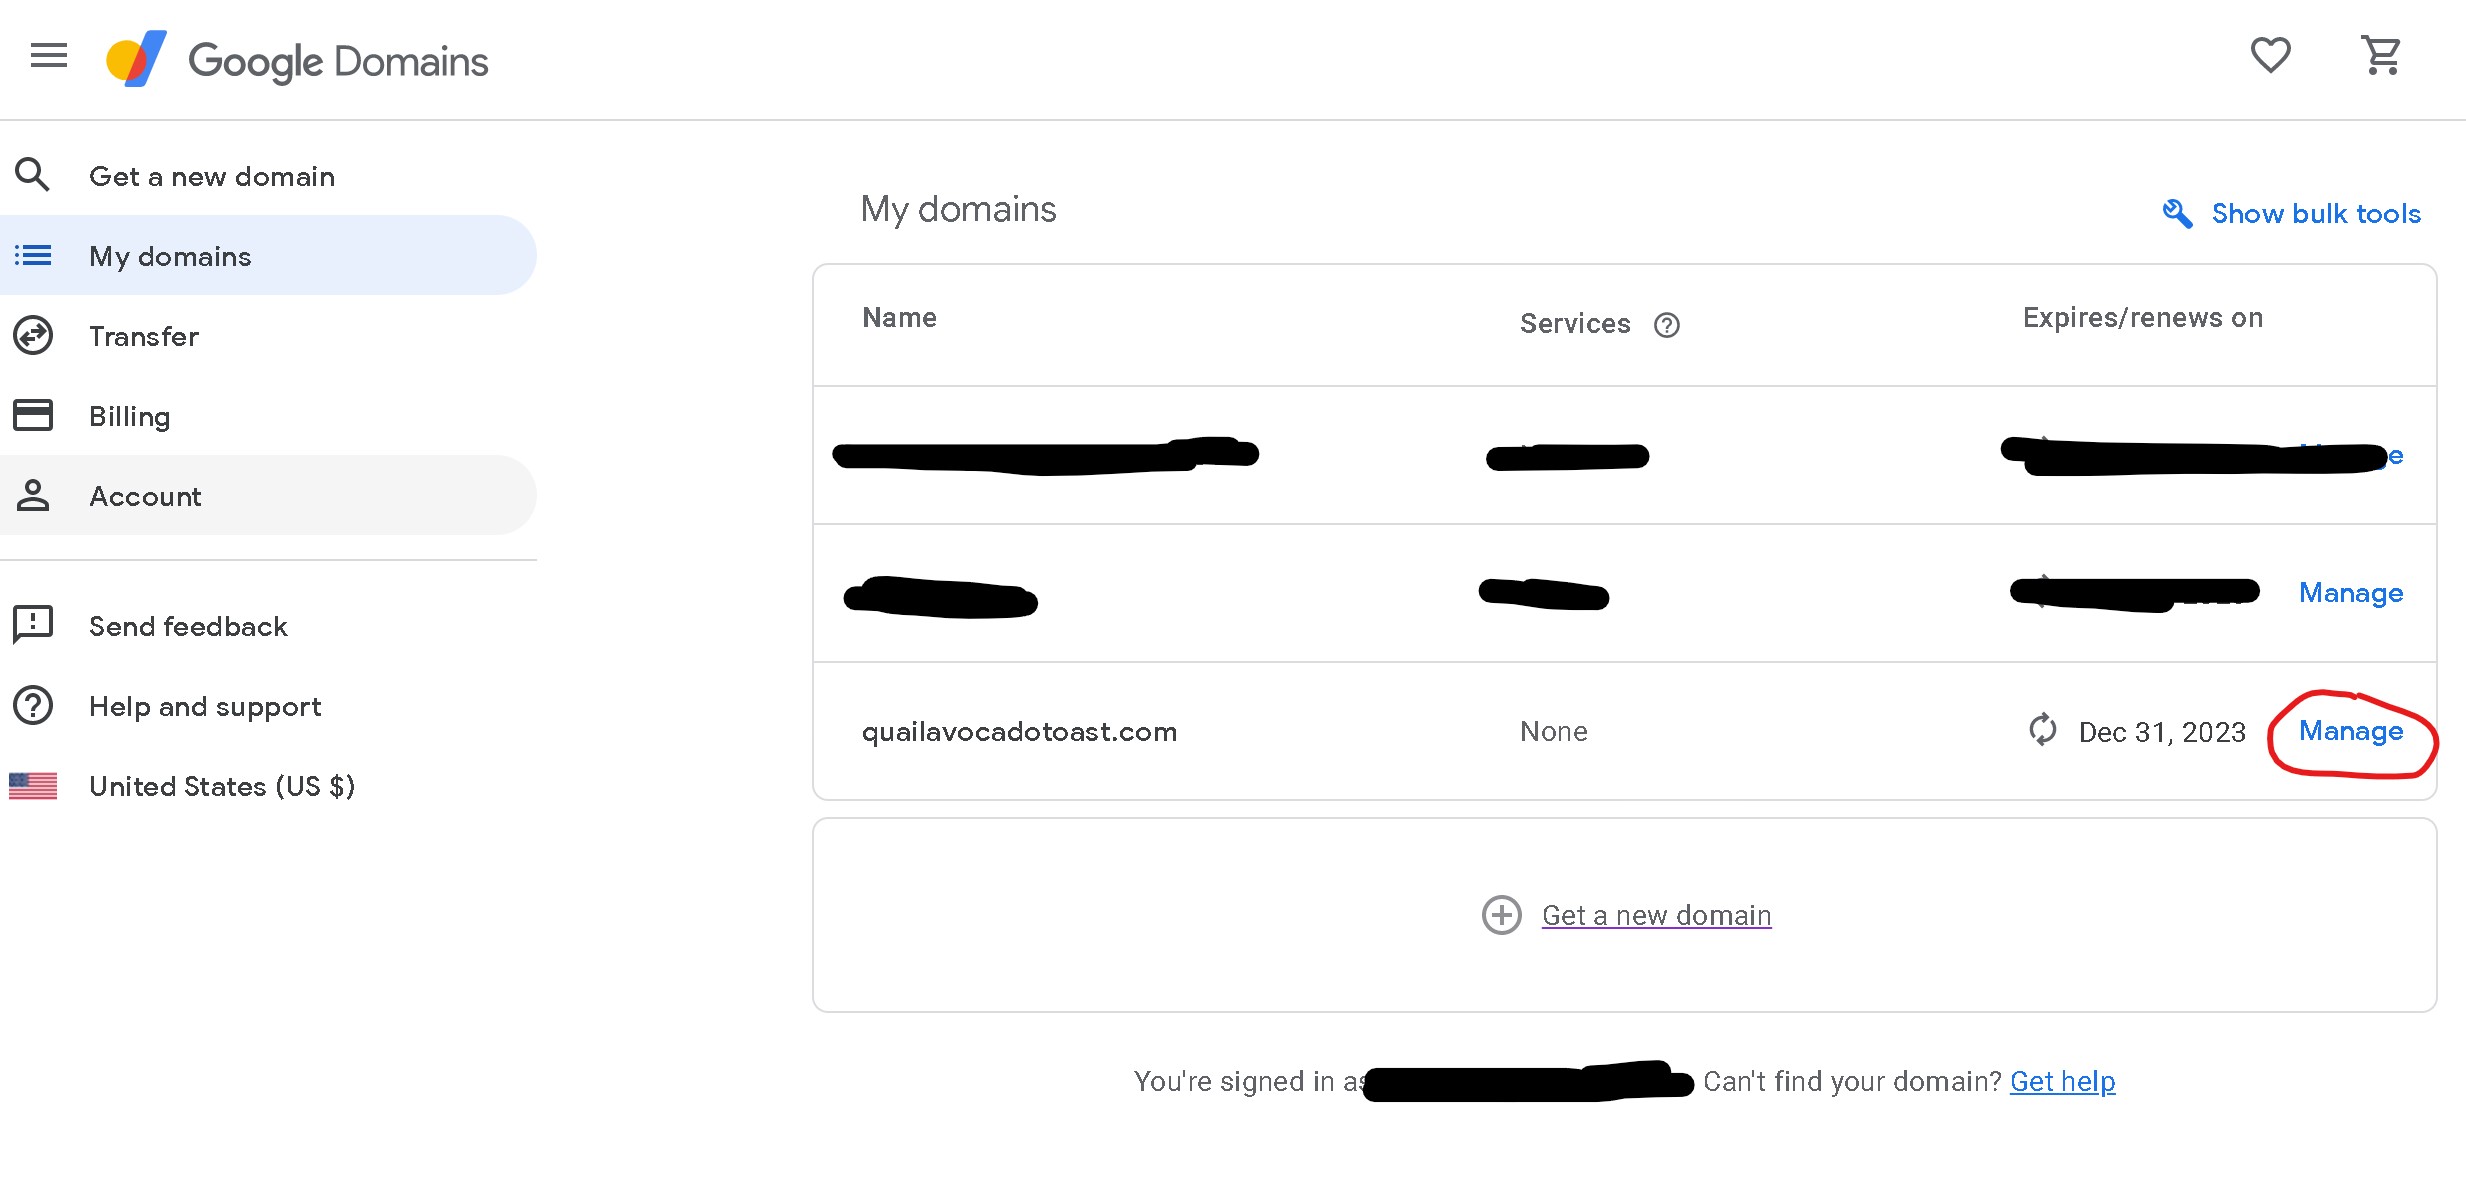
Now that you've purchased a domain, it will appear in Google Domains when logged in with Google.
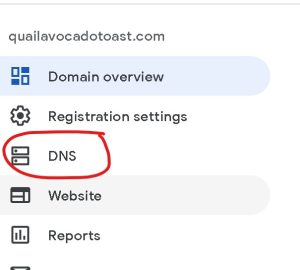
We need to set a few records for our domain to associate it with our Linode Virtual Private Server and for e-mail down the road, so select 'Manage' next to your domain.
We need to create a new 'A' record for our domain that points to our Linode Virtual Private Server. Click 'Create new record' and use these settings:
Host name: blank
Type: A
TTL: 300
For Data, here you need to put in your IP Address for your Linode Virtual Private Server.
Setting Up A DNS 'SPF' Record
Now we need to set a 'TXT' record to establish our SPF which we'll need for sending e-mails later on. Click 'Create new record', leave the Host name blank, select 'TXT' for Type, 300 for 'TTL', and copy-paste this for Data.
"v=spf1 a -all"
We're all done here! We need to set a Reverse DNS Record and open up our Linode Server to be able to send emails next! You can close this tab and return to your Linode Cloud Console.


