How To Create a Linode Account and Virtual Private Server
How To Create a Linode Account
To get started, visit Linode in your browser. Using this link will ensure that you will receive your $100 free credit, allowing you to run your Virtual Private Server (VPS) for free for quite some time.

Select how you’d like to create your new Linode account. You can create your account with Google, Github, or create your own unique username and password.
How To Create A Linode Virtual Private Server
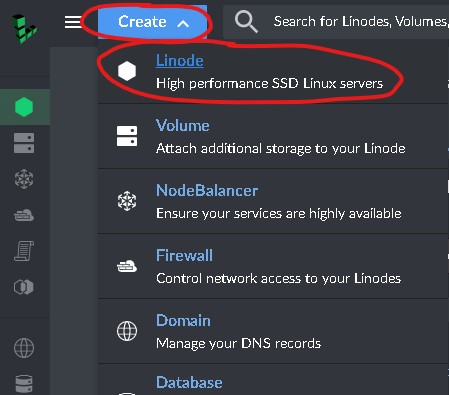
Once you’ve created your account and are logged in, click on ‘Create’ in the top left corner and select ‘Linode.’
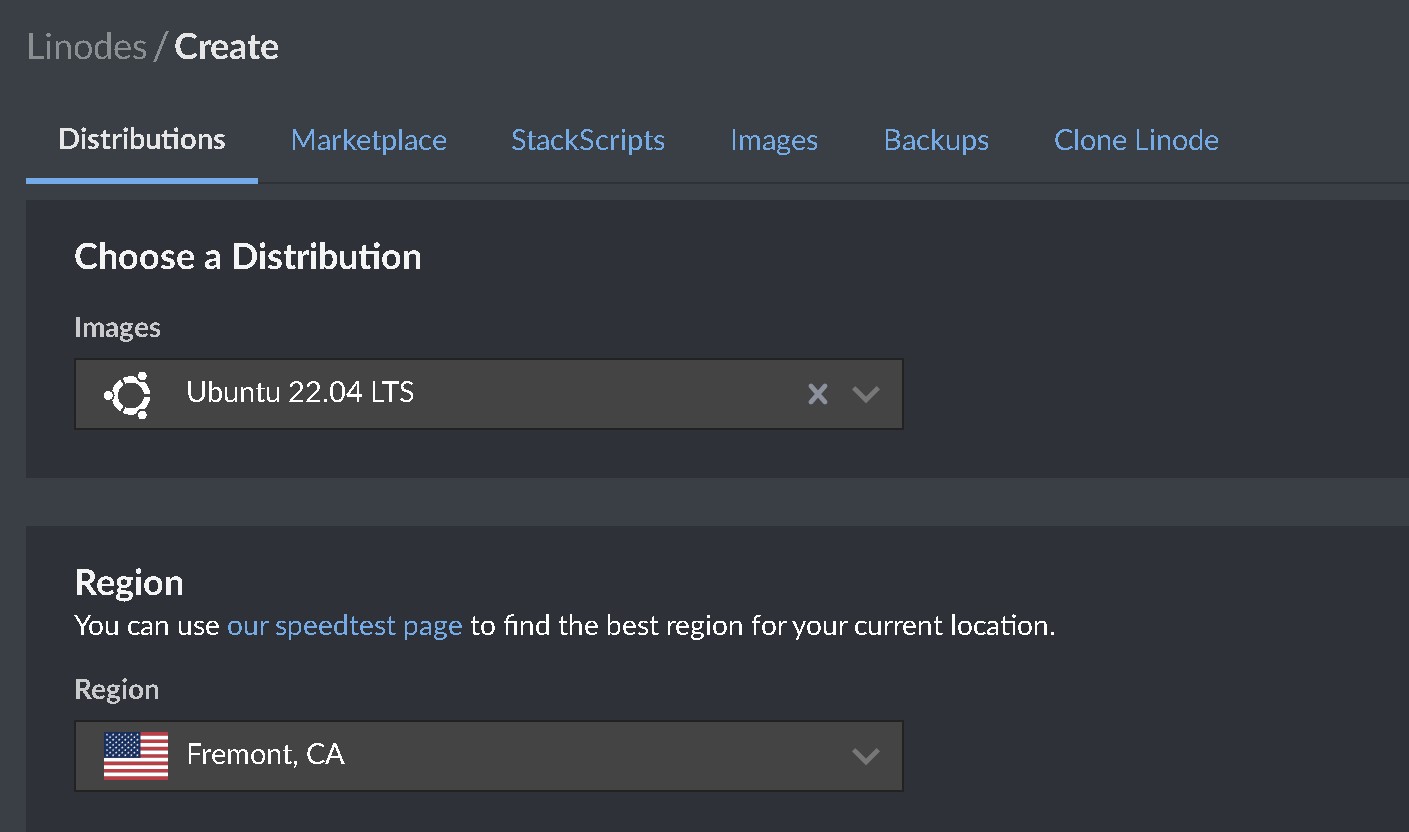
Select Ubuntu 22.04 LTS as your Distribution. This guide is written for this Linux distribution. If you know what you’re doing, feel free to select whatever you like but be aware that this guide is specifically written for Ubuntu.
Select a region that is closest to your geographical location. For me, that’s Fremont, CA.
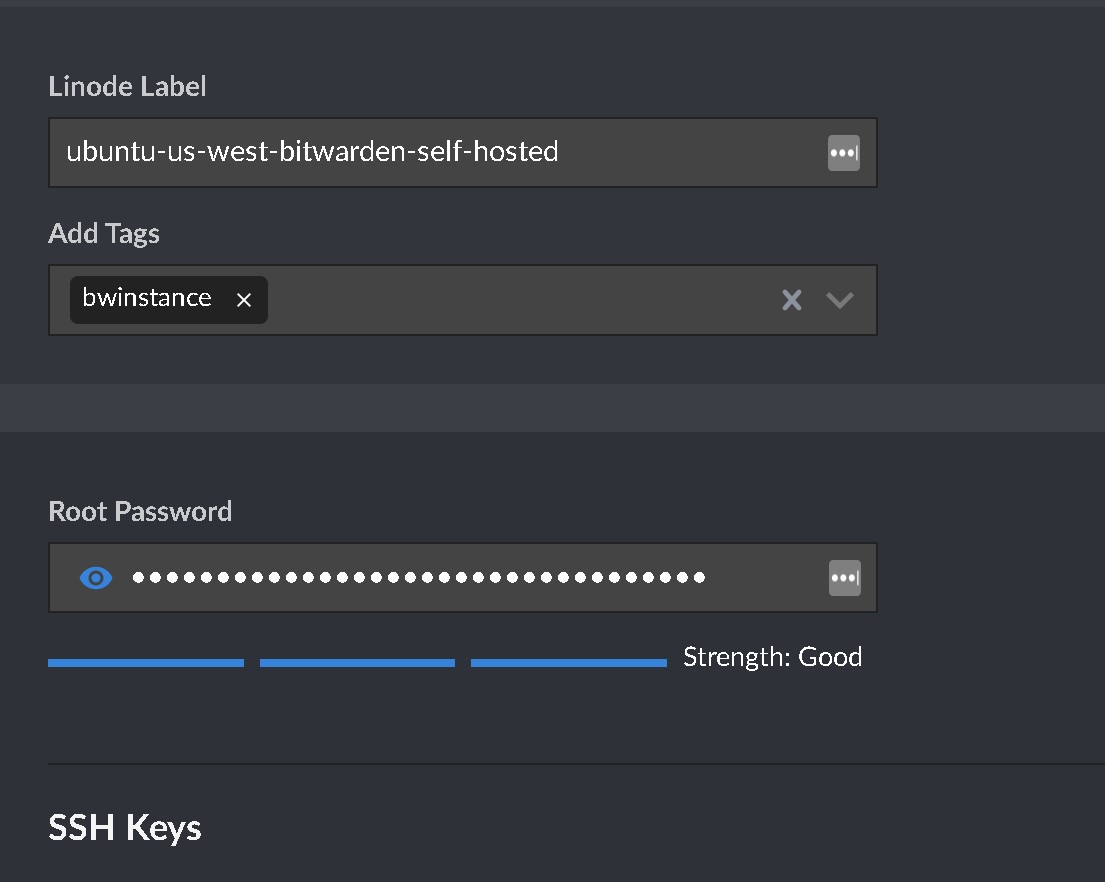
Edit your ‘Linode Label’ to be descriptive of your personal situation. In this example, I’ve added ‘bitwarden-self-hosted’ to the end, but you can choose whatever you like. This is only going to affect the display name of your server within the Cloud Console.
Optional: Create a tag to identify this server from other servers you may run in Linode if you plan on setting up more servers.
Set a strong root password. This is the password that you’ll be using to log in to your server so make it a good one. Store it in a secure location where you won’t lose it.
Don’t worry about adding an ‘SSH Key’ at this point, we’ll be doing that later on.

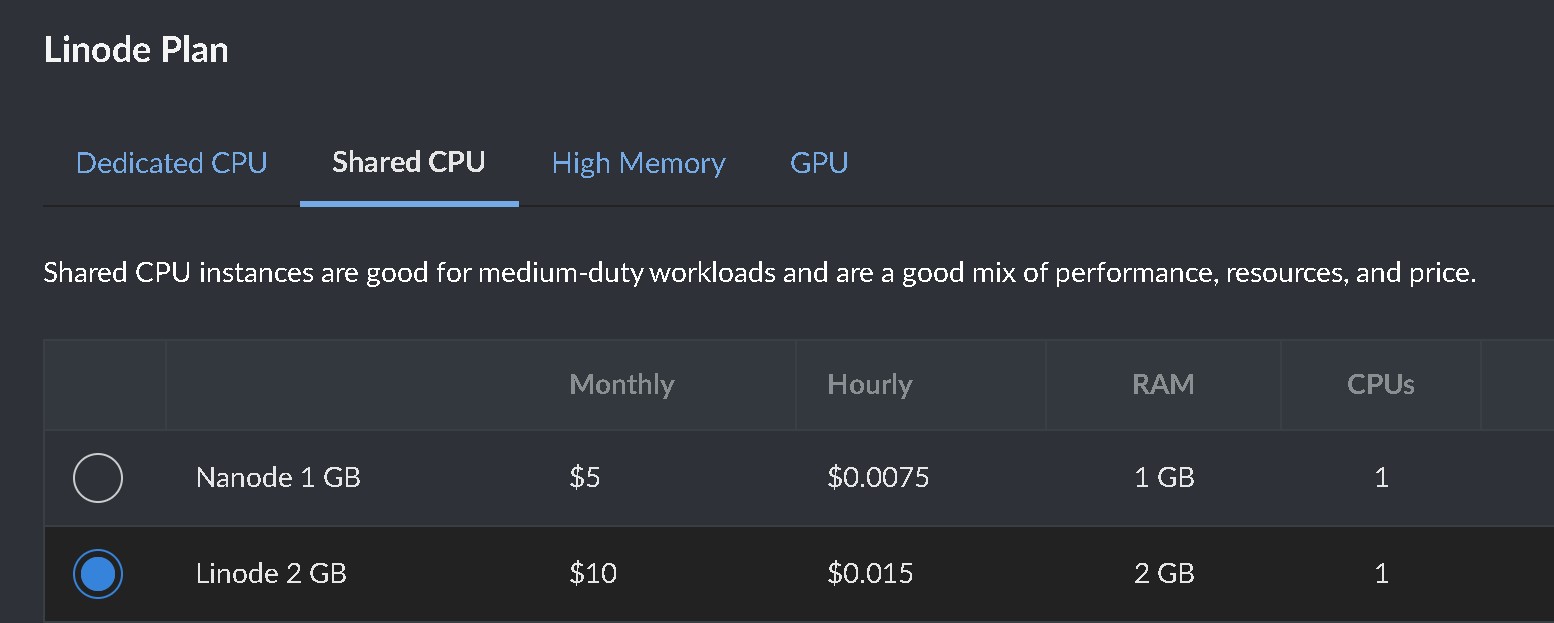
After that, you can ignore all the other options, with the exception of Backups. I highly recommend selecting Backups for $2.50/month. This will make sure you can restore your Linode in the event of data loss. However, this step is optional.
You’ll see the summary of your new server at the bottom. Once you’re satisfied with it, click ‘Create Linode’.
Accessing Your Virtual Private Server

You’ll now be able to see your brand new Virtual Private Server in your Cloud Console screen. Click on it to see specific information we’ll need for our setup.

Here we can see important information about your server, including its IP Address, stats, and the ssh command we’ll be using to log into our server.
We’re all done with our initial setup; now, we need to register a new domain to access our Bitwarden web vault. Onwards!


