How To Install Bitwarden Unified With Docker Compose
Installing Bitwarden Unified With Docker Compose
The moment you've been waiting for. Installing Bitwarden!
After all the necessary configuration we've done, installing Bitwarden is as simple as running a single command.
Make sure you're in your containers folder.
cd ~/containersNow we'll invoke our docker-compose.yml file to do all the heavy lifting for us.
docker compose up -dThis will start the installation and configuration of Bitwarden using all the configurations we've laid out in our docker-compose.yml, settings.env, and SMTP settings via Postfix with our TSL encryption.
Verifying The Installation
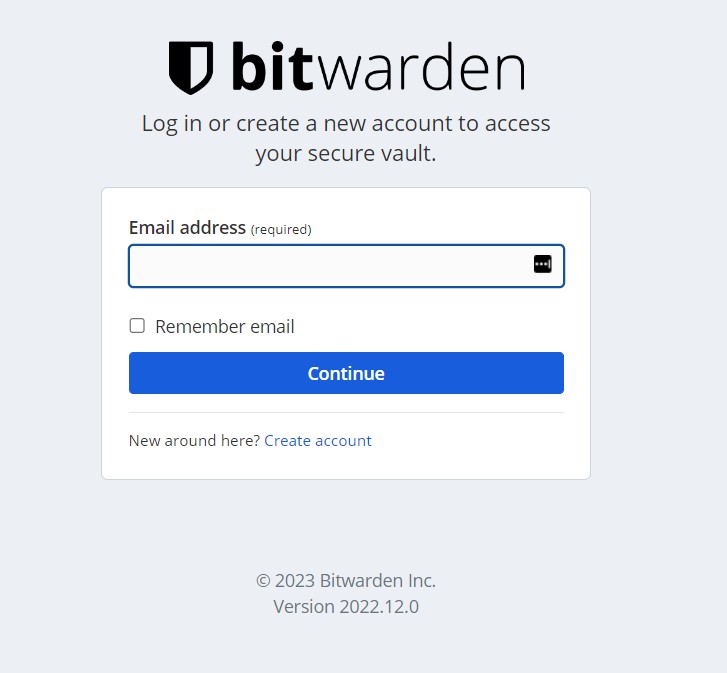
After Bitwarden installs, go visit your domain in your web browser. Here's what you'll see.
Congratulations! You've successfully installed Bitwarden on your own private server.
In the next lesson we'll go over registering a new account, disabling new user registration, and accessing your admin portal as well as tips and tricks to stay safe with your Password Management Software.


